
|
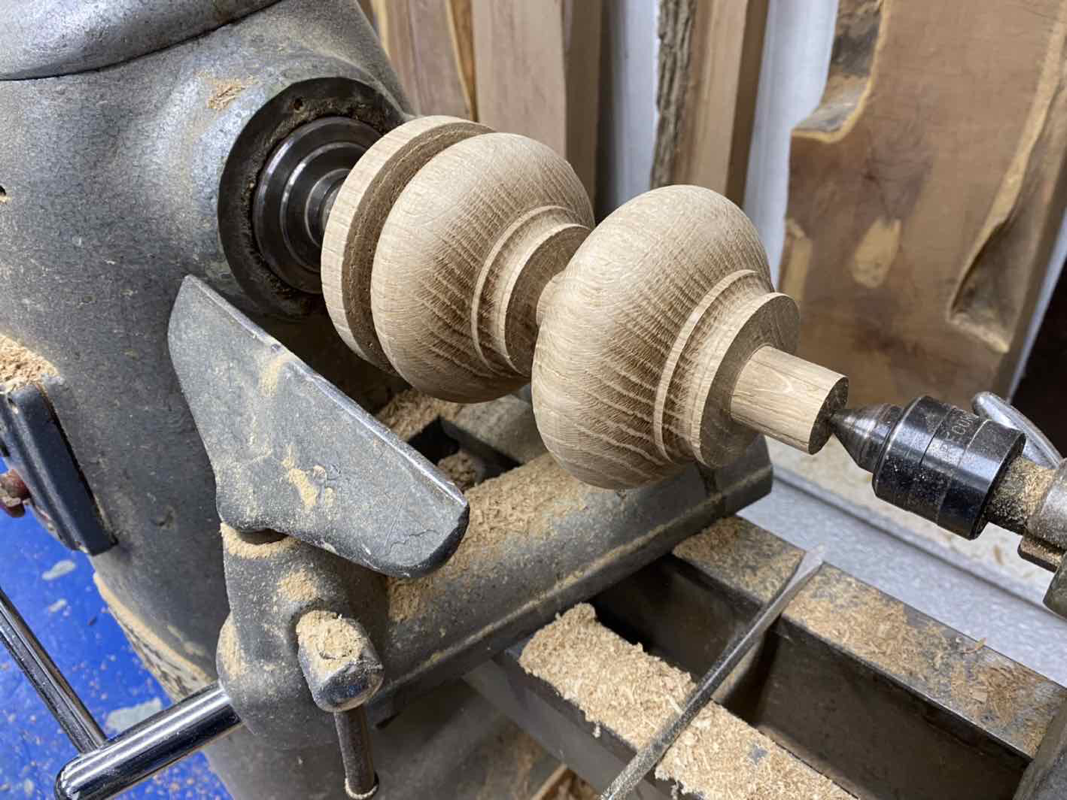
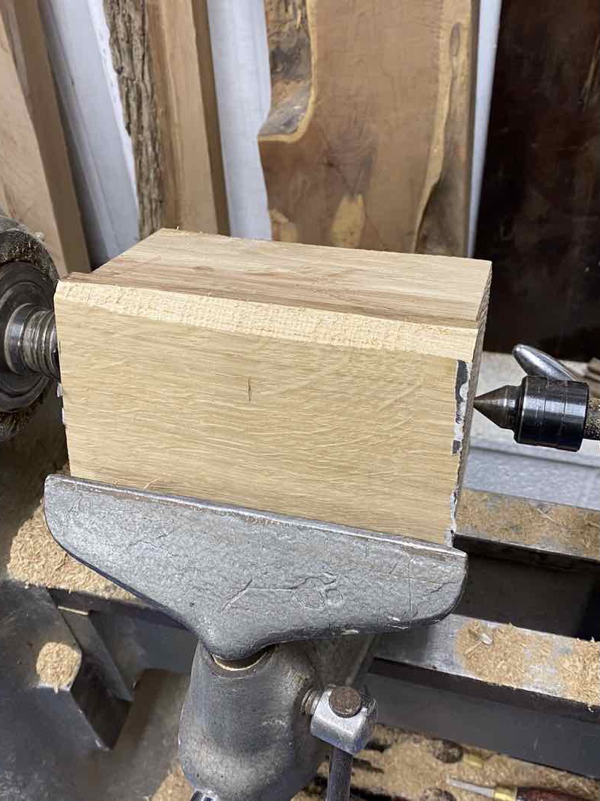
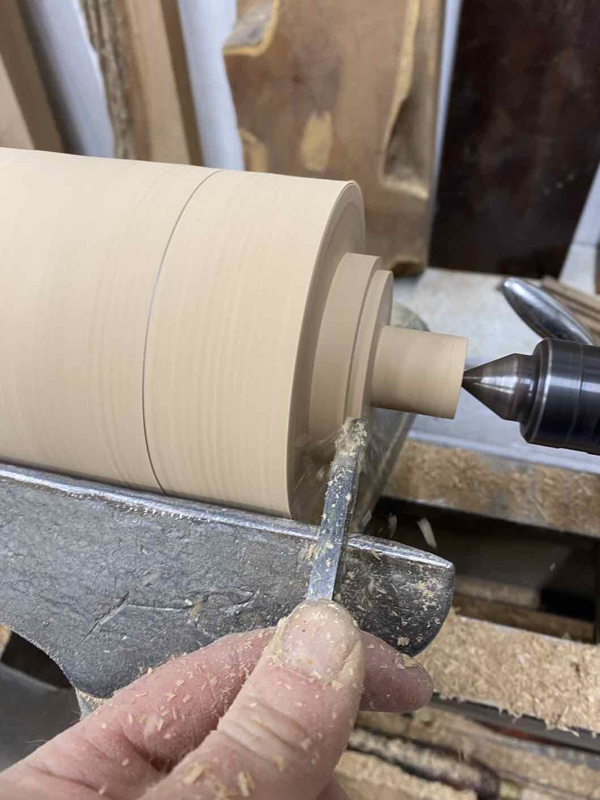
A much loved piano workbox came into the workshop recently which was starting to show its age. It was originally a music box which was activated by pressing one of 4 sprung piano keys, but unfortunately the mechanism was long gone. The job I was asked to do was to restore the work box so that cosmetically it looked in better condition. The main aspects were to fix the sprung keys that once operated the music mechanism in place (as they were no longer required to move), refit the wobbly legs, replace the missing edge mouldings, glue the piano fall back together, strip and French polish the exterior and reline the interior. 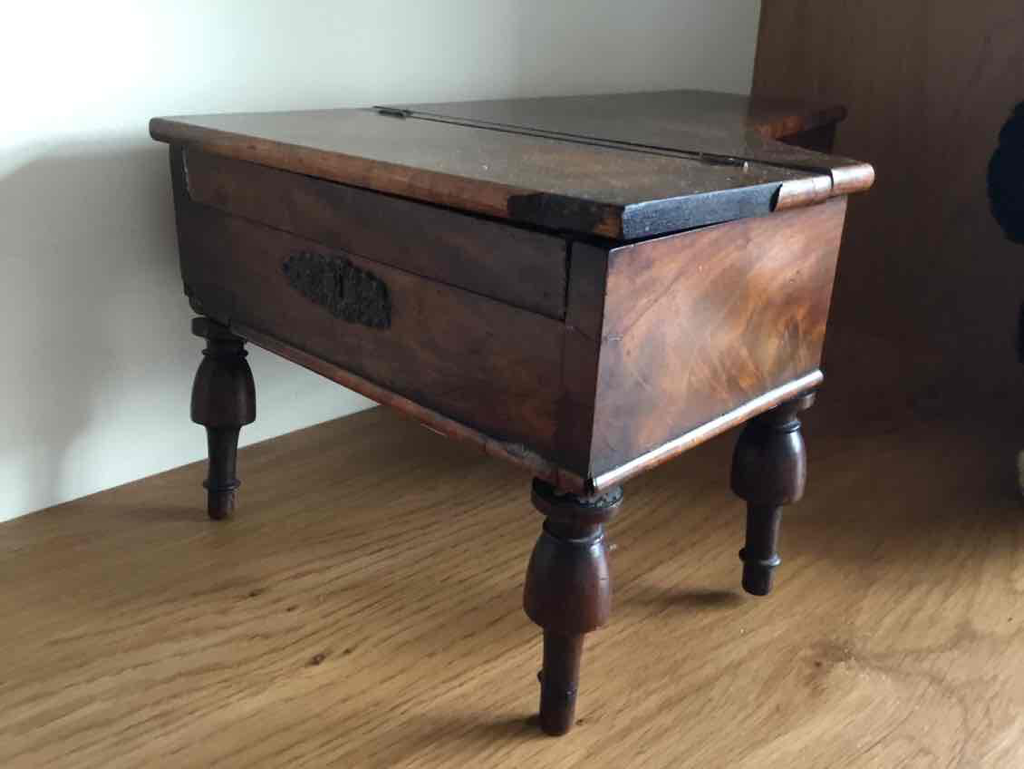 Wobbly legs! 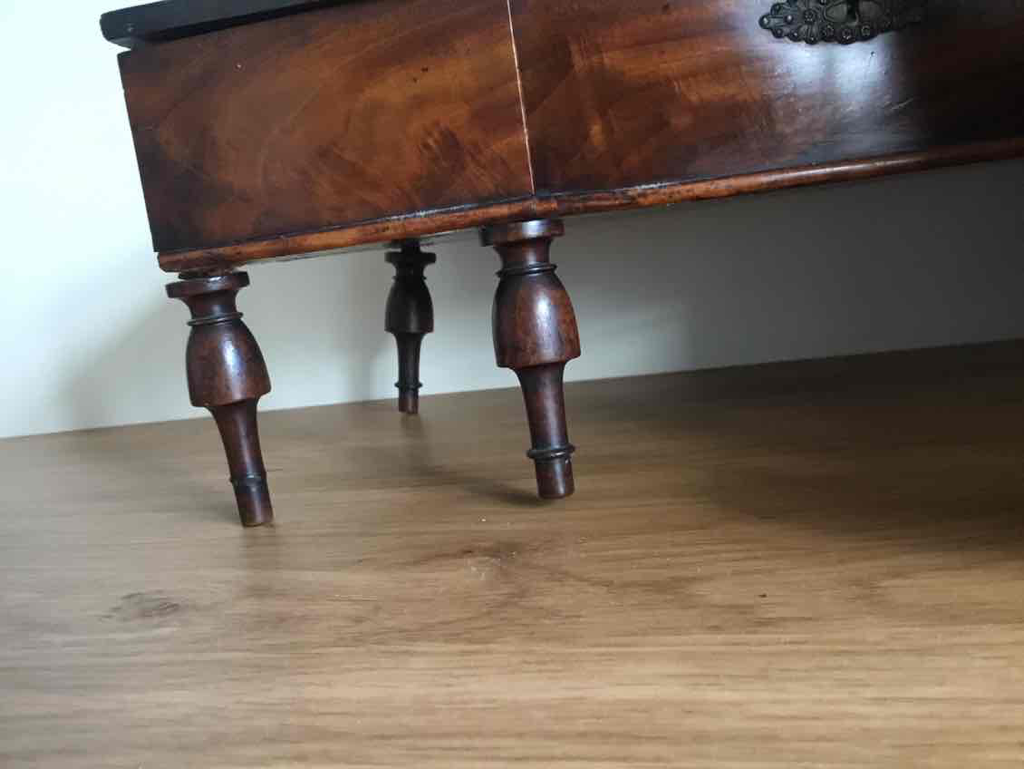 To start with everything was carefully taken apart. You can see at the top of the legs that the original dowels that fixed them in position were no longer there. They had been repaired before using long metal nails, but this isn’t really suitable. 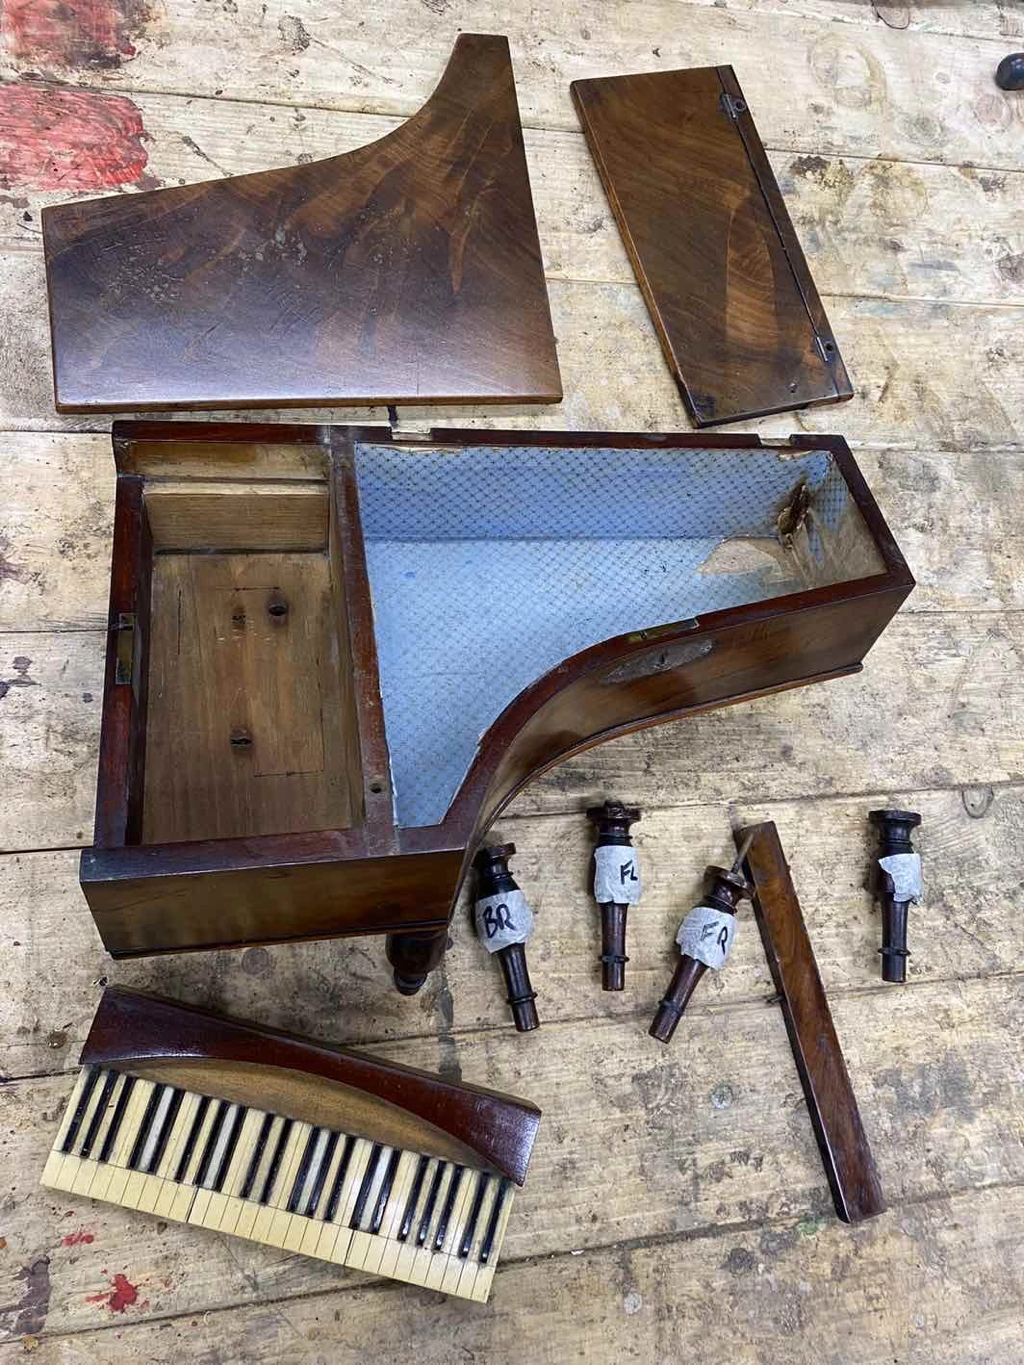 So the first job was to remove the old nails from the legs and carefully drill down the top of the leg to fix a new dowel in place. After this I removed the old finish from the exterior and the lining paper from inside of the main compartment. This was followed by replacing the missing edge moulding and fixing the loose keys in place. I thought I’d taken pictures of this but I haven’t…note to self (again) take more pictures! 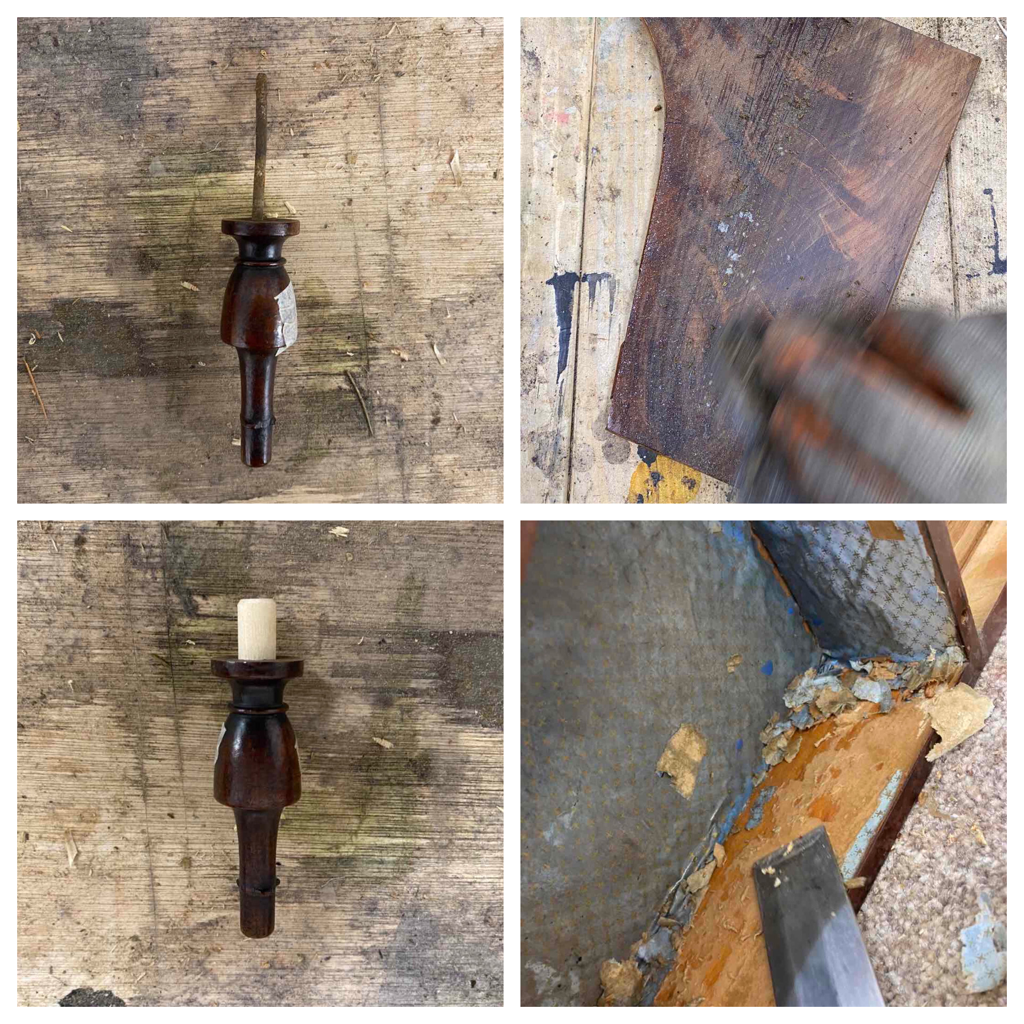 After this the next job was to French polish the exterior and then finally line out the interior. I found some nice A4 sheets of decorative paper online which was a similar colour with a small pattern which I thought was ideal for this job. 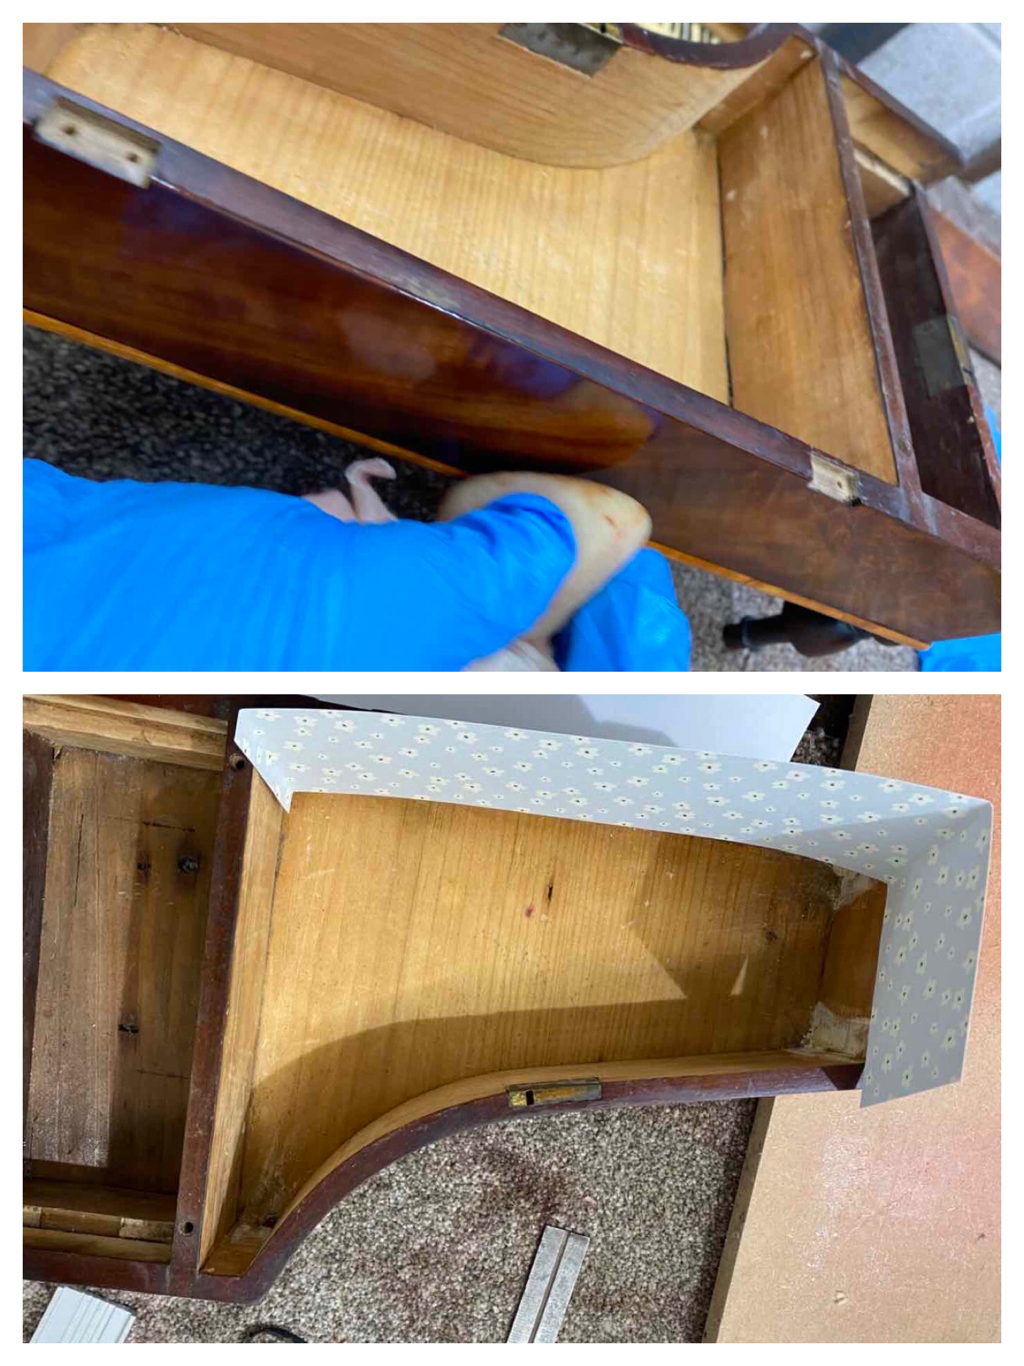 After lining out, a clean of the brass and reassembling, we now have the finished article- looking more like it would’ve done maybe 100 years ago. It had great sentimental value to my customer and it was lovely to see her reaction when the workbox was finally returned! 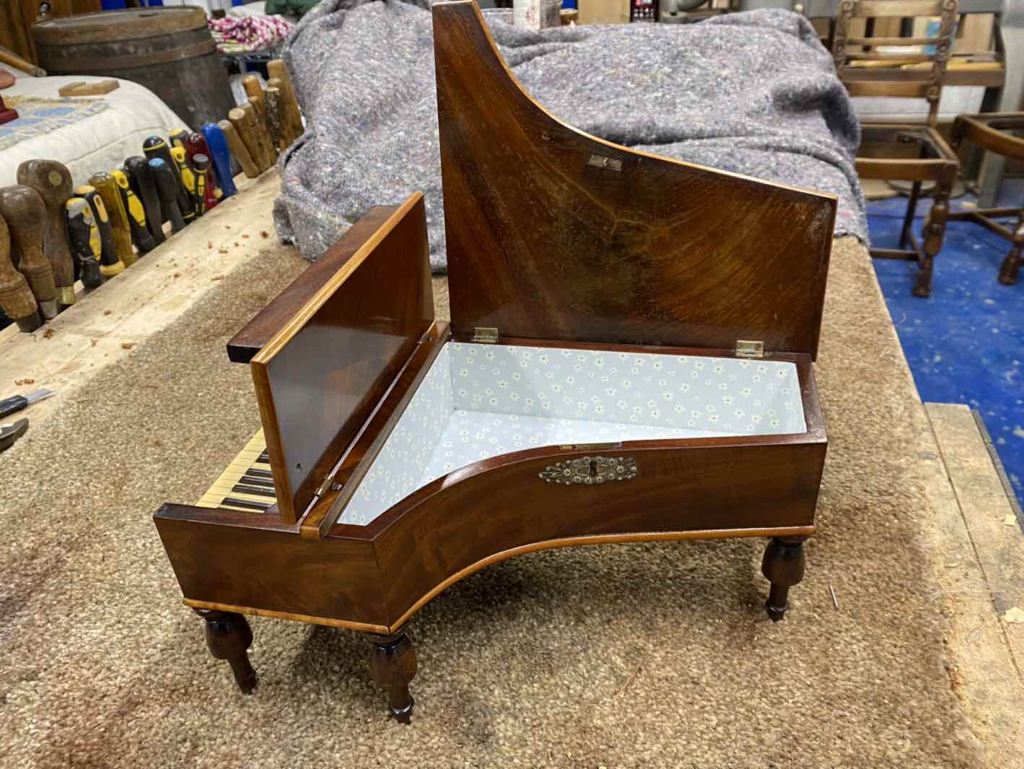 This chair came into the workshop needing quite a bit of work. The seat obviously had seen better days, but that was just the start… The whole chair was loose, there should be a curved rail at the very top of the chair called a ‘shawl rail’ which was missing. At the end of the arms there is a ‘mushroom cap’, a decorative turning which unfortunately on this example, one had gone missing. 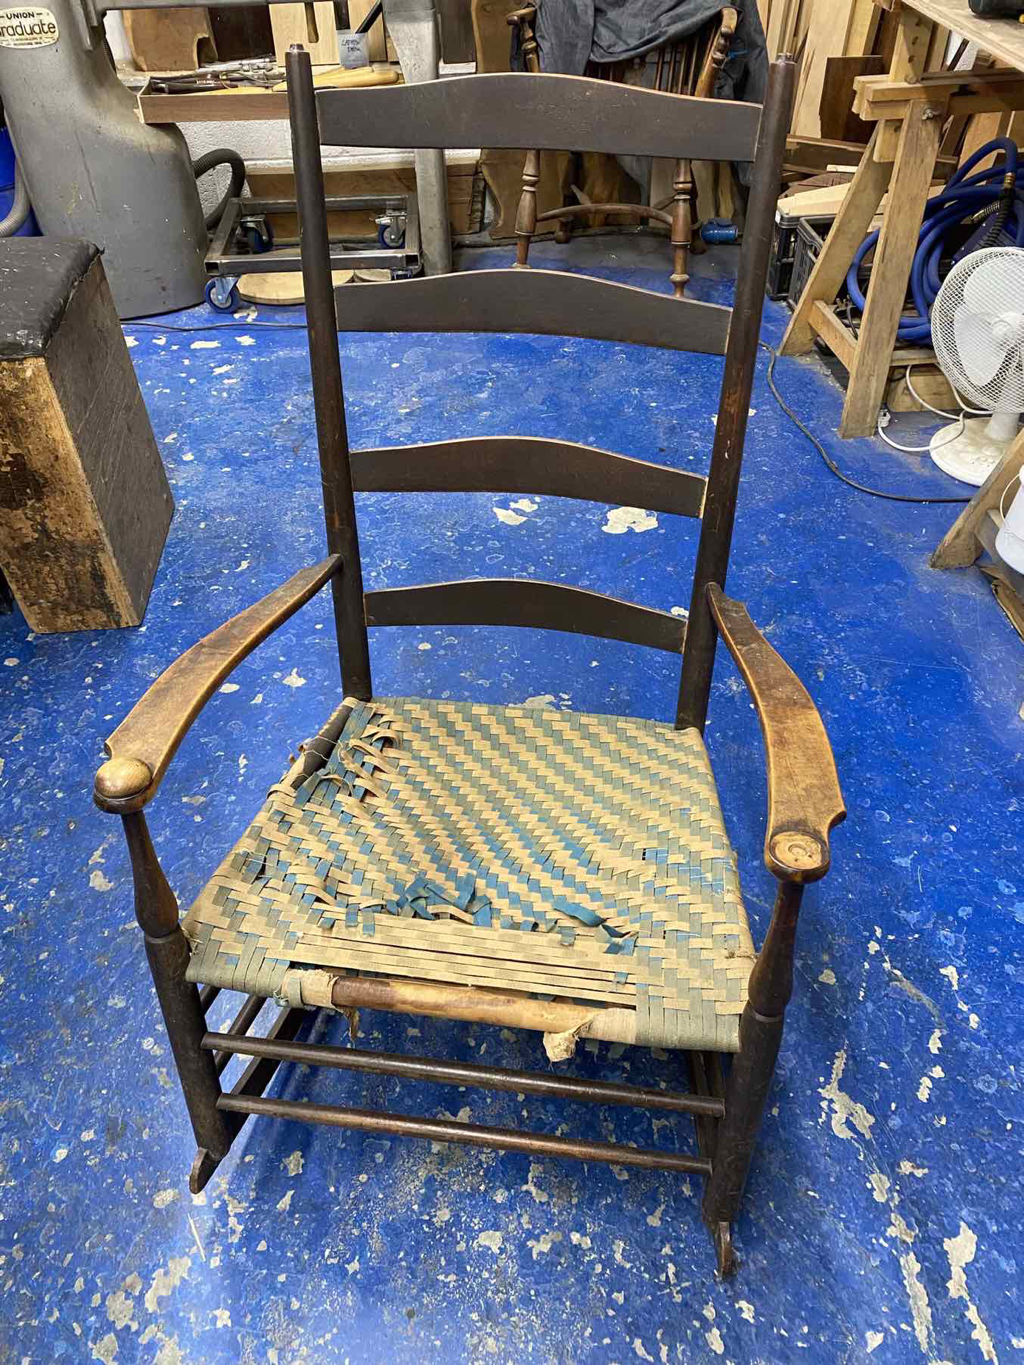 The back of the rockers had also proved to be a tasty snack for a dog at some point as they were both partly eaten! 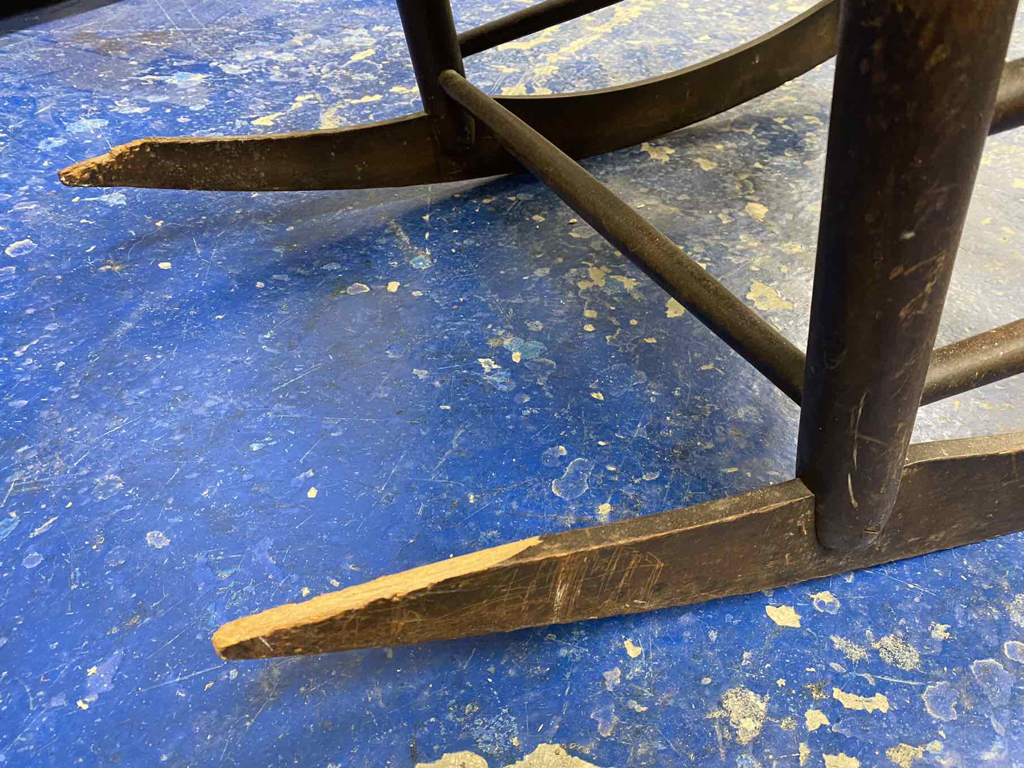 First job was to carefully take the chair apart and clean off the old glue. Once that was done to all the joints it was reassembled again using animal glue to secure it. 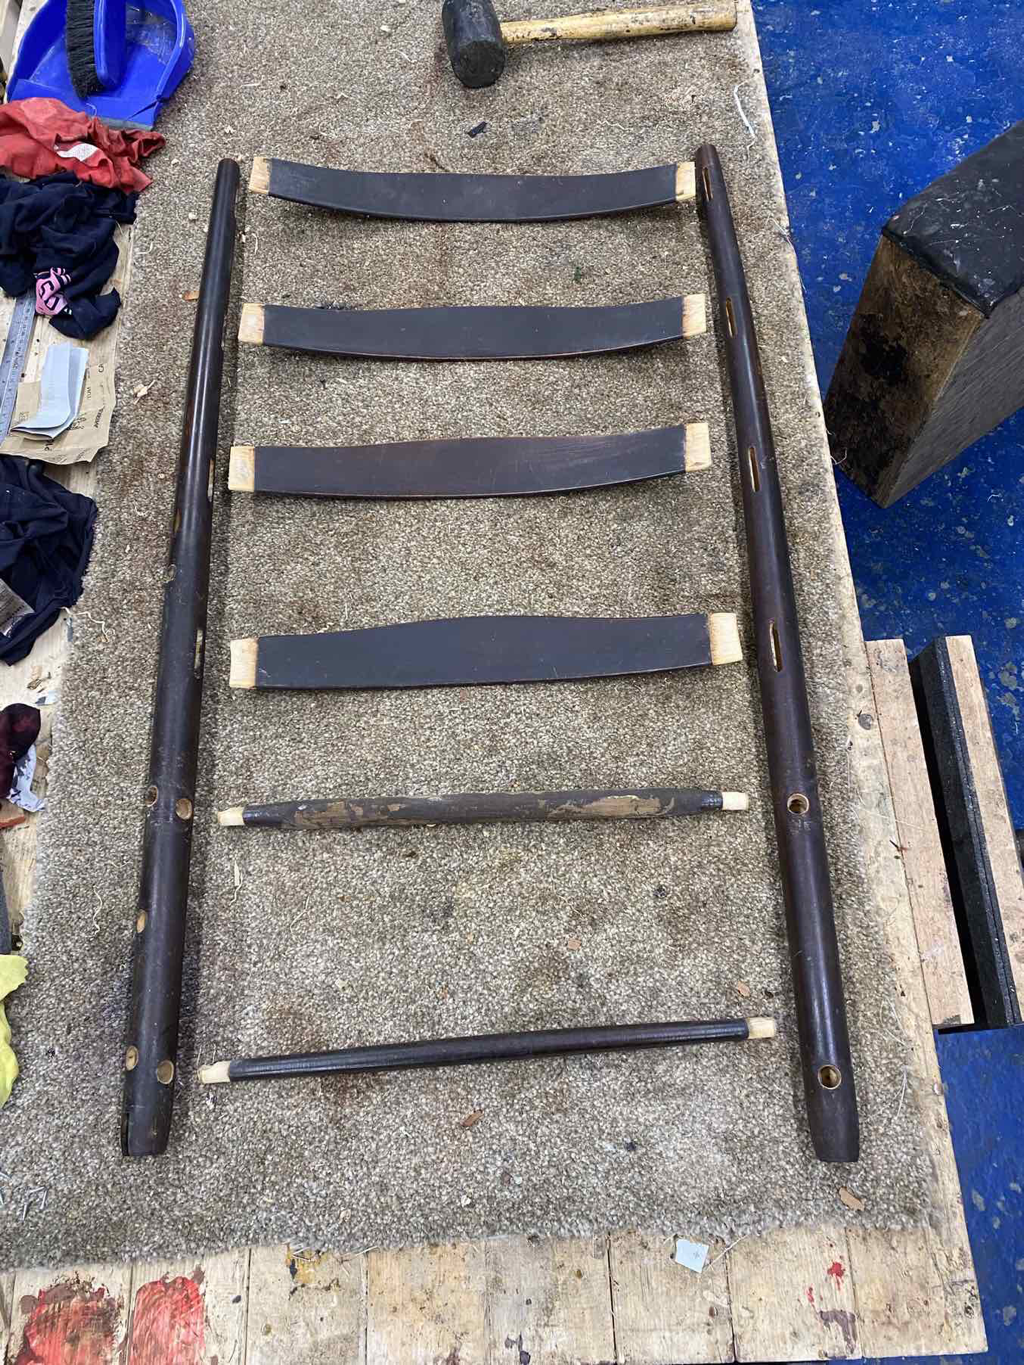 The curved rail was next. Maple doesn’t steam bend too well so I decided to laminate the bend instead. First I needed to work out the curve. After looking at other examples on the web, the curve seemed to pretty much match the curve of the chair back so I made a template from a piece of hardboard. This template was used to create the correct shape on a piece of scrap pine. The maple for the shawl rail was then cut into fine strips, glued together and clamped in the pine former until the glue was set. As you can see in the pictures the maple retains the curved shape - it can then be shaped by hand using a spokeshave.  The arm cap mushroom was then turned on the lathe. Fortunately my customer had one of the original caps left which made my job a little easier to get an exact match. 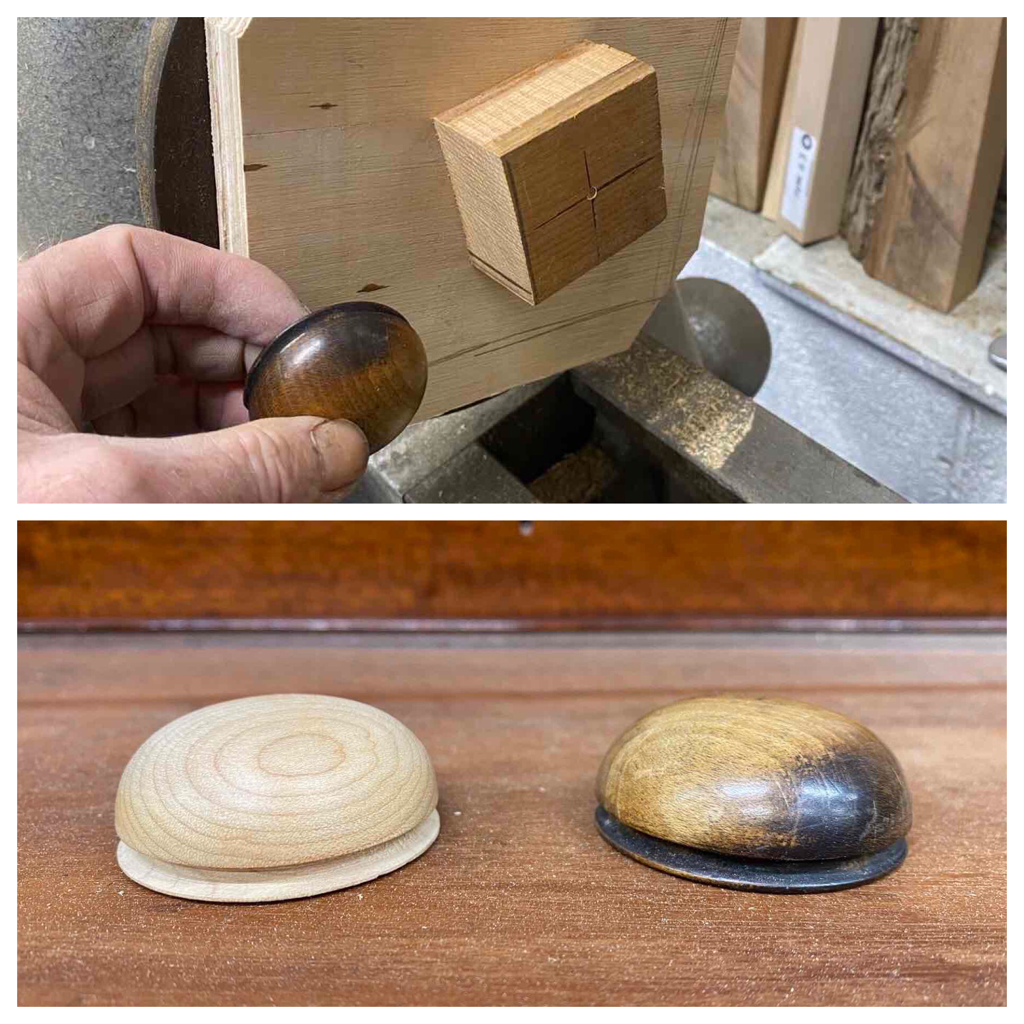 New pieces were spliced onto the rockers to replace the missing sections- (I should’ve taken photo’s!) The chair was then cleaned up and the new pieces polished to blend in. Below you can see the finished chair complete with its new parts and new seat. 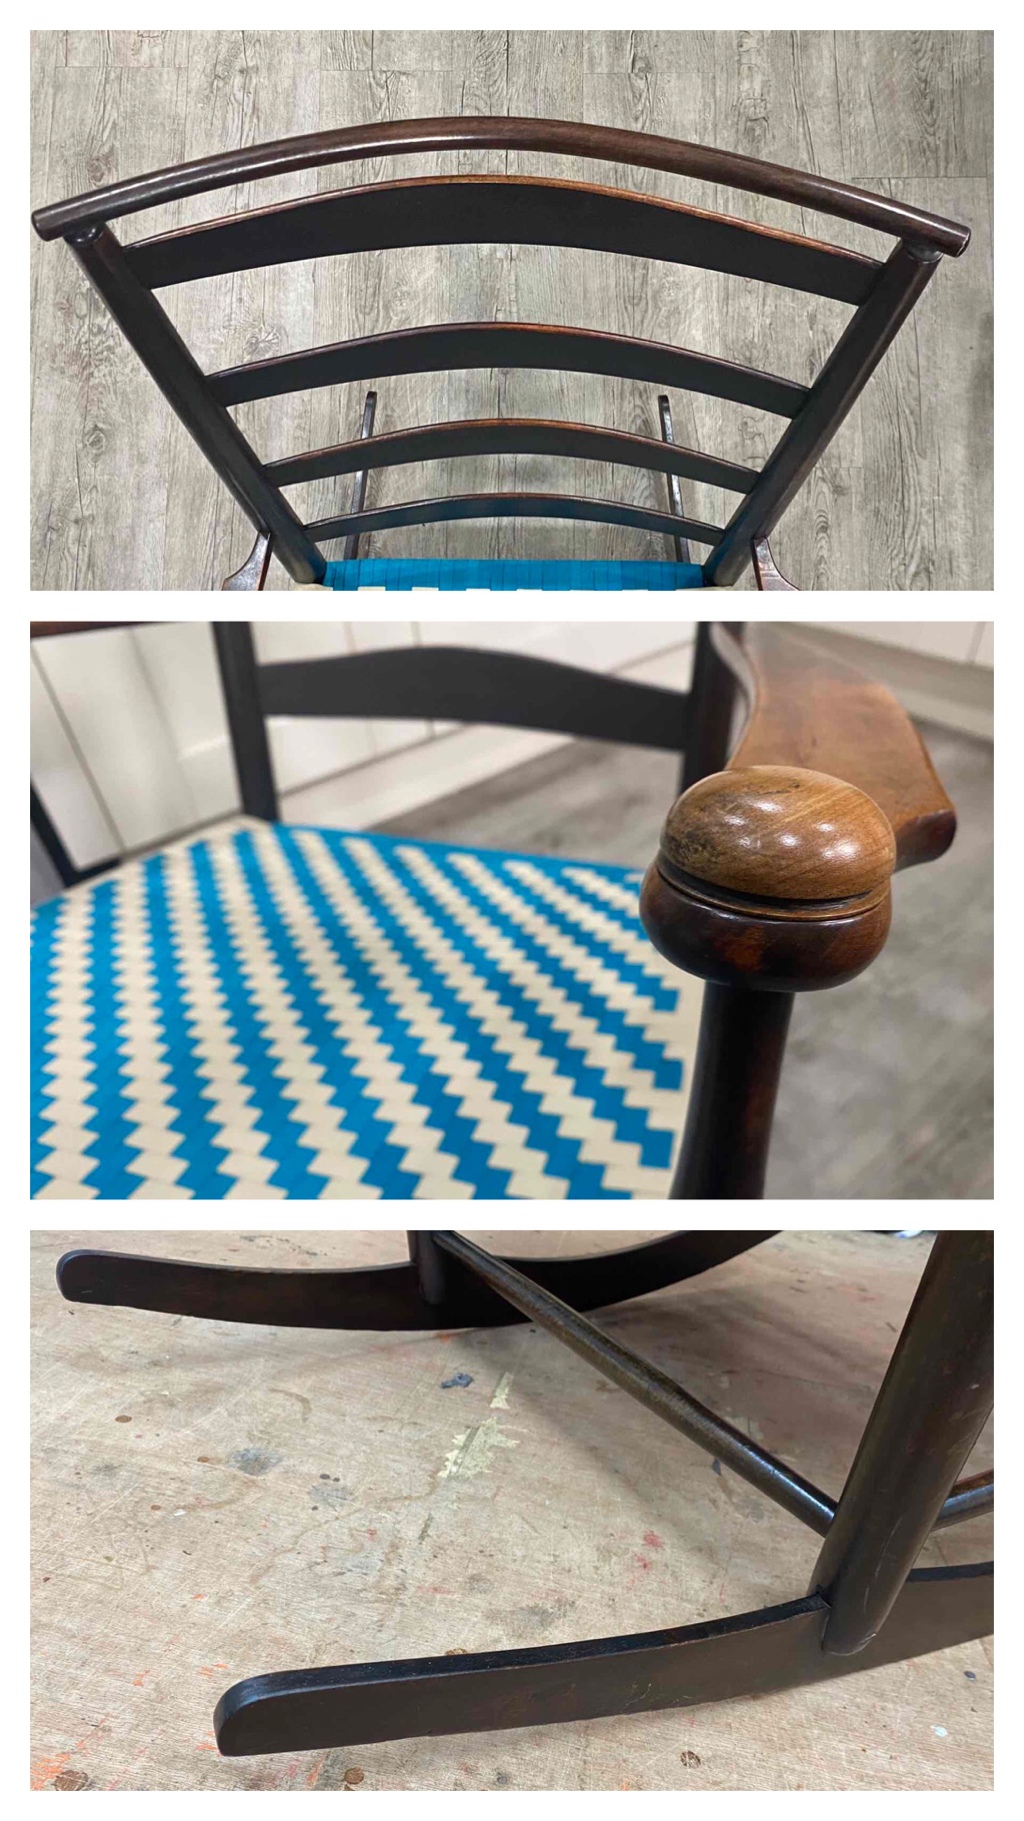 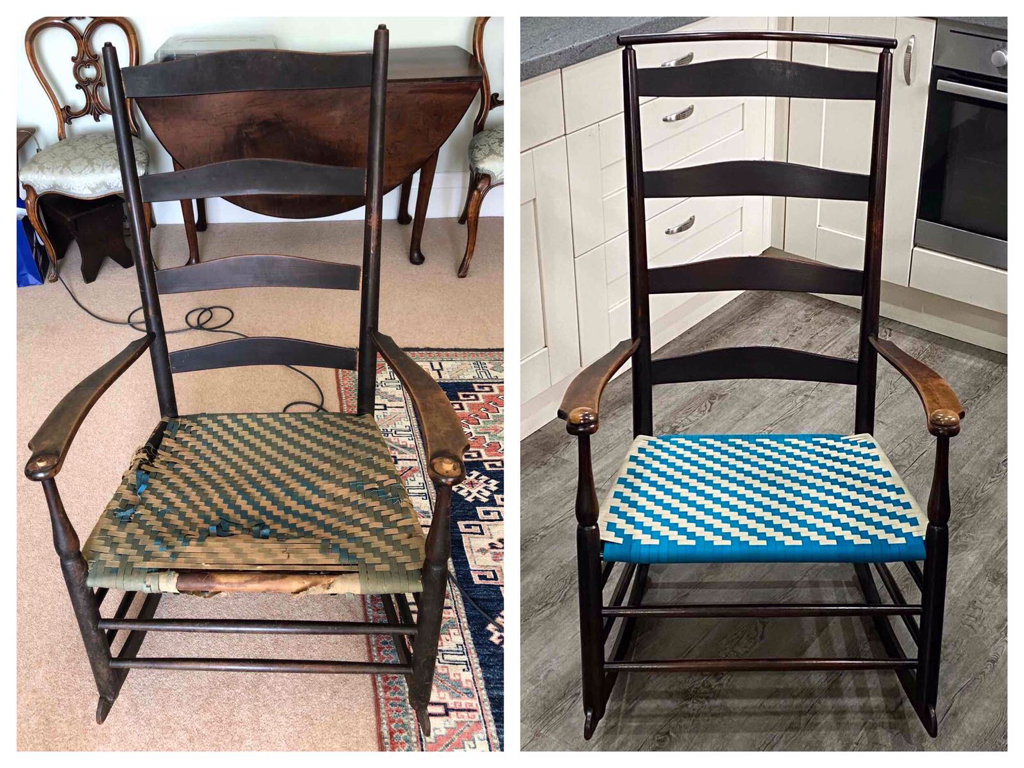 I occasionally get asked to make and repair vintage chess pieces. This one is particularly small and was a real test for my eyes! 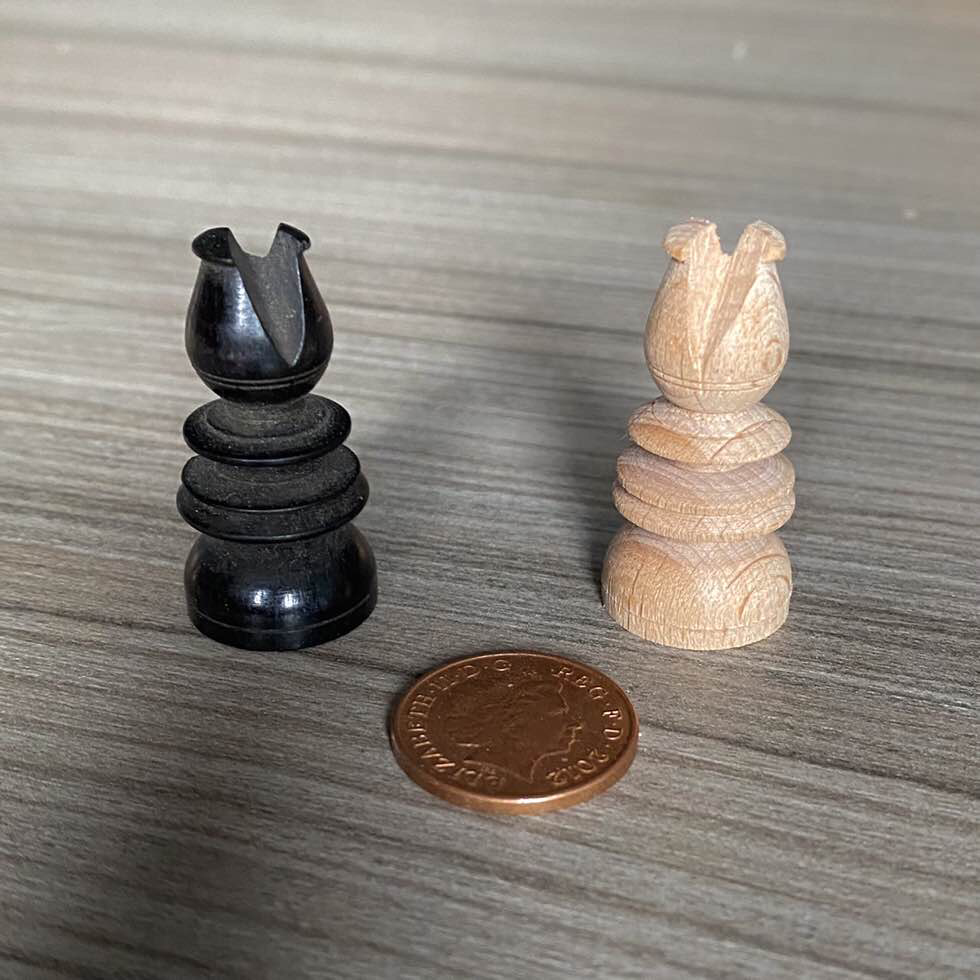 A customer had a 19th Century Mule chest which at some point in its life had been cut down. He wanted it lifting by a couple of inches and asked me to make and fit a set of bun feet , to be made from solid Oak. You can see from the pictures a little of the process involved. The bottom picture shows 2 of the bun feet which have been turned from a single piece of Oak, ready to be separated, polished and finally fit to the chest.
 This old pine church pew had a lot of sentimental value for the customer. As it is kept outside it had unfortunately become very grey and weathered. I was asked to clean it up and give it a sand, then put a protective exterior finish on it. Garden furniture isn’t my usual line of work to be honest, but I was happy to help out- here are the before and after photos.. 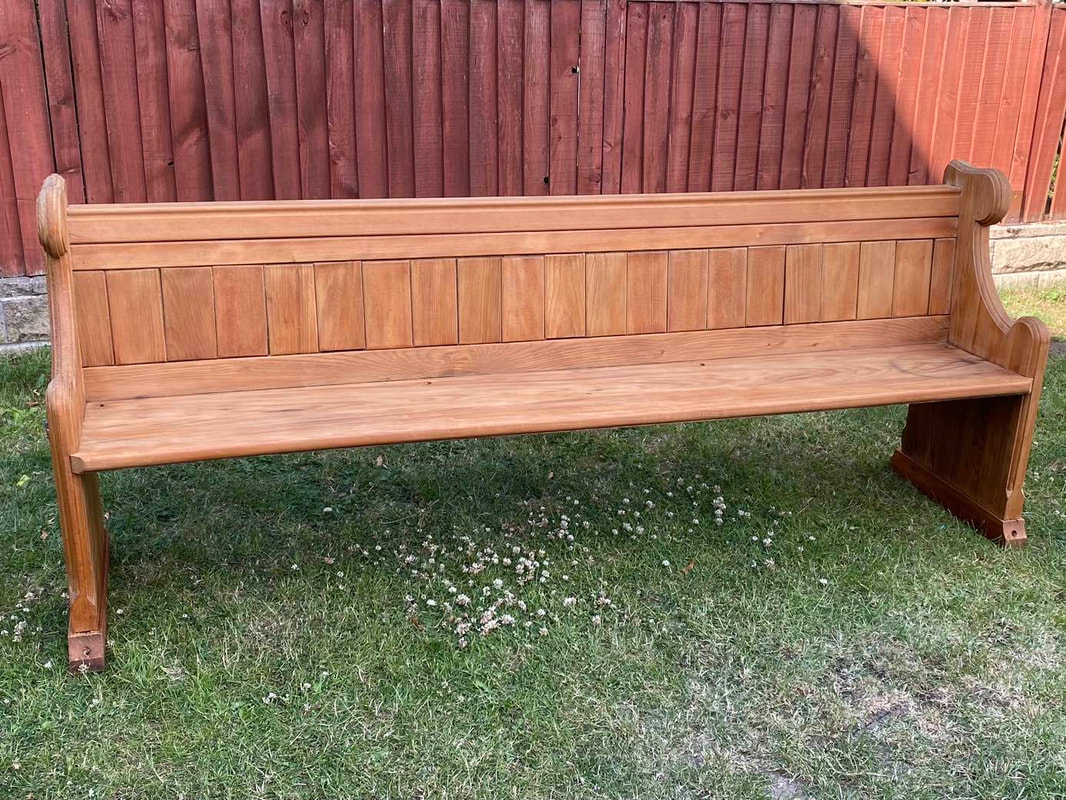 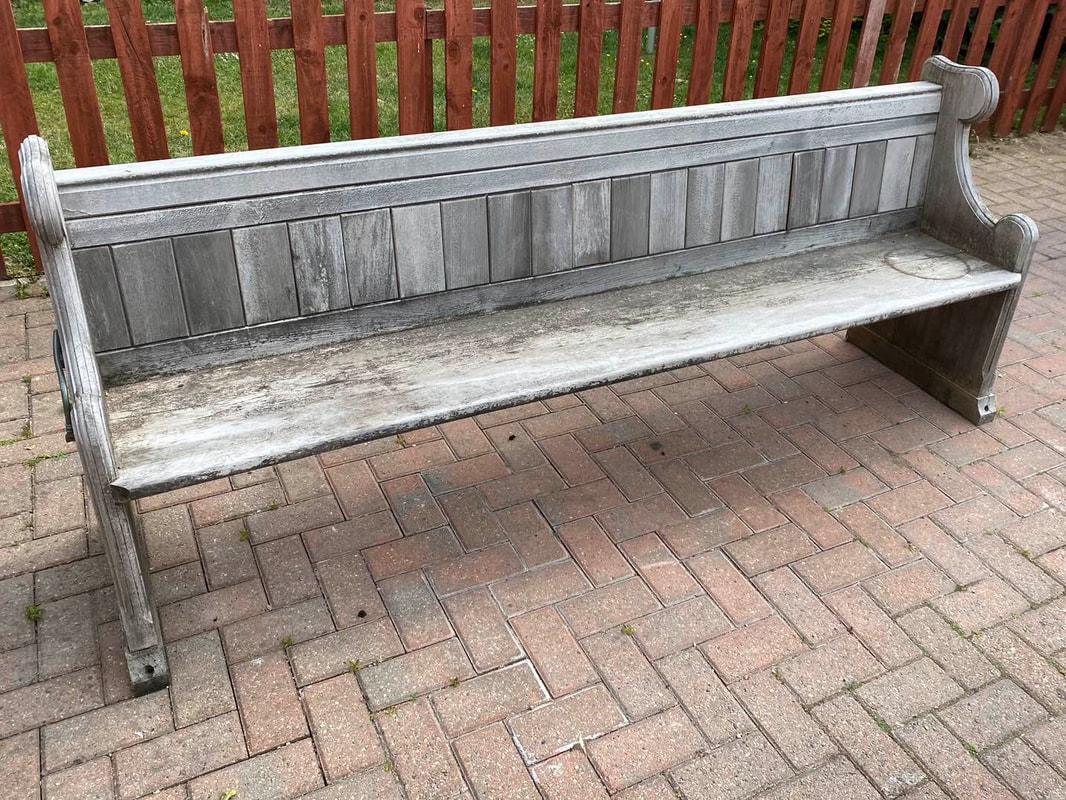 |
Steve’s BlogI’ll try to keep this area regularly updated with some of my recent projects!
Archives
October 2023
Categories |
 RSS Feed